
Planning
The planning tab is used in the task module to plan the tasks ahead of time. It is important to note, that you can only view the planning for tasks of type "repeat - exact times" 4 months ahead.
Depending on the task type chosen, the planning tab might look slightly different with different settings available for each.
Ad-hoc
When accessing the planning tab for ad-hoc tasks, we see the following buttons and options:
- Plan task: This brings up a dialog box, requiring you to fill out the following for planning the task. Read more on this below
- Auto plan: By choosing this option, Microbizz calculates with the help of algorithms, the best plan for the task with the available resources. Read more on this below
- Edit manually: This will redirect you to the Planning module, allowing you to plan tasks manually
- Remove future: You can remove any future planning
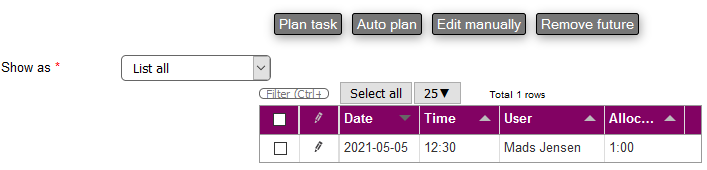
- Show as: You can choose one of the following ways to view the object's production plan:
- Calendar
- List future planning
- List all
Plan task
Pressing this button, brings up a dialog box, requiring you to fill out the following for planning the task:
- User: Choose the user(s) to plan the task for. If the user isn't available on the chosen day, you will be prompted to either plan anyways or cancel the intended planning
- Start date: Choose a start date for the task
- Full day: If checked, the whole day is planned, and therefore no start or end time is necessary to fill out
- Start time: Choose a start time for the task
- End time: Choose an end time for the task
- Locked: If checked, the plan gets locked and so cannot be moved in the Planning module
Auto planning
It is possible to auto plan the task. This will look at all the relevant users and try to find one who is available and who might live close by etc. The exact rules for determining which user is most suitable is beyond the scope of this documentation.
If the task doesn't have an estimate then you can specify a new estimate.
Clicking on the Suggest button will find a number of suggestions, best suggestions are in green. One suggestion will be marked with a black box; you may drag / adjust the box if you like. If the auto planning is satisfactory, then you can click on the Save planning button to create a planning.
Repeat - exact times
When accessing the planning tab for repeat tasks with exact times, we first have to create a repeat. This is done by clicking on Create repeat, see below.
Furthermore, you have the following buttons:
- Create repeat: This allows to create a new repetition.
- Create exception: Here you can specify specific periods for when to ignore the repeat:
- From: The start date for the exception
- To: The end date for the exception
- Clear existing: If checked, any planning that exists within the dates chosen for the exception, will be removed
- Replan: This will delete all future planning for the task, and will then create new planning for the next 16 weeks, based on the repetitions; notice that the task will not be planned to dates before the start date or after the dead line
- Edit manually: This will redirect you to the Planning module, allowing you to plan tasks manually
- Show as: You can choose one of the following ways to view the object's production plan:
- Calendar
- List future planning
- List all
Create repetition
The Create repeat button takes you to a page where you may create a new repetition.
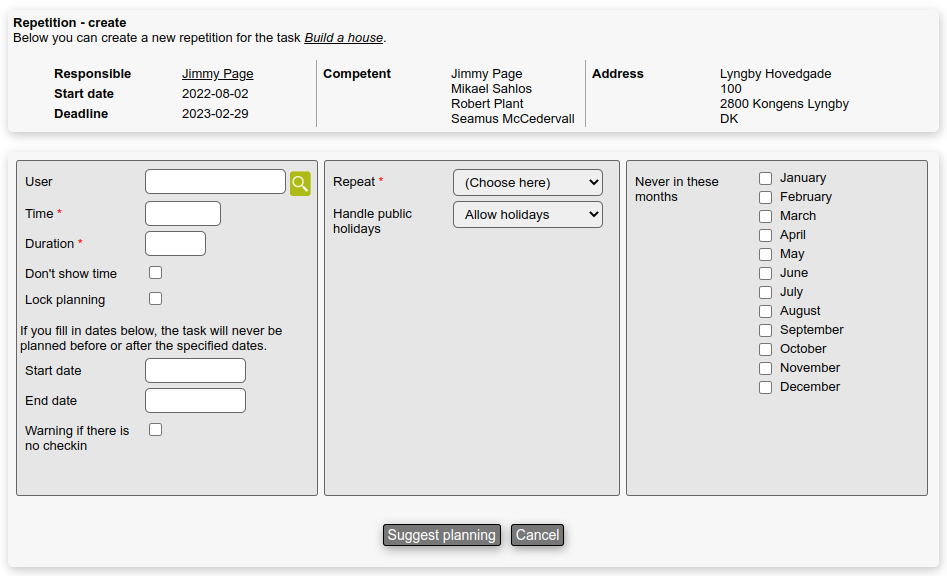
You need to fill out the following:
- User: Choose the user(s) to plan the task for. If the user isn't available on the chosen day, you will be prompted to either plan anyways or cancel the intended planning
- Time: The time of the day when the repeat should occur
- Duration: Declare how many hours and/or minutes the repeat should last
- Don't show time: If checked, the time isn't shown
- Lock planning: If checked, the planning for this task is locked
- Start date: If specified, the task will never be planned before that date
- End date: If specified, the task will never be planned after that date
- Repeat: See the description of repetitions
- Never in these months: Mark the months that should never be included when choosing days for the repeating task
If you press Suggest planning the system will ignore the selected user(s) and suggest a planning and fill in the User field with a suitable user. You may change the user afterwards and save the repetition.
Repeat - loose times
When accessing the planning tab for repeat tasks with loose times, we first have to create a repeat. This is done by clicking on Create repeat:
You need to fill out the following:
- Create repeat: This opens up a dialog box, requiring you to fill out the following for repeating the task:
- Repeat type: Here you can choose how you want to configure the repeat. Choose from the following:
- Set dates:
- Repeat: See the description of repetitions
- Running periods:
- Repeat: Here you can specify the number of days, weeks or months
- Set dates:
- Days to deadline: The number of days before deadline from the time of the repeat
- Pool: If you have declared any pool previously, you can choose it here
- Duration: Declare how many hours and/or minutes the repeat should last
- Forms: If you have declared any form previously, you can choose it here
- Feedback?: If checked, you can send feedback to a user regarding the repeat. This opens up more options:
- External: If checked, instead of sending to a user, you can now only choose a person to send the feedback to
- Send to: Choose either a user or person to send the feedback to, depending on the option(s) checked before
- Start date: If specified, the task will never be planned before that date
- End date: If specified, the task will never be planned after that date
- Repeat type: Here you can choose how you want to configure the repeat. Choose from the following:
Furthermore, you can plan the task, edit the planning manually which will redirect you to the Planning module, remove any future planning with the Remove future button, as well as choose how to view the planning for the task in Show as.
Plan task
Pressing this button, brings up a dialog box, requiring you to fill out the following for planning the task:
- User: Choose the user(s) to plan the task for. If the user isn't available on the chosen day, you will be prompted to either plan anyways or cancel the intended planning
- Start date: Choose a start date for the task
- Full day: If checked, the whole day is planned, and therefore no start or end time is necessary to fill out
- Start time: Choose a start time for the task
- End time: Choose an end time for the task
- Locked: If checked, the plan gets locked
See also
You may obviously also use the Planning module.
Tasks may be planned by adding them to a route and then assigning the route to a user.
When creating a task you may quick-plan it - this creates a single planning for a user:
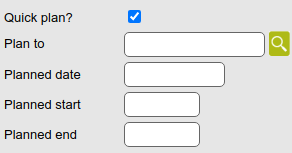
Quick-plan is enabled via a setting in the Additional fields section of the Task module settings.
The route planning allows you to optimize existing planning to reduce the time spent on drive.