
Full days
The Full days planning view is somewhat similar to the Normal planning view, but it creates planning which are not scheduled for a specific time (like 08:00 to 12:00) but instead are just supposed to take up a part of the work day or the whole work day, and it is then up to the employee to determine when they can find time to do it. Full day plannings may also last more than 1 day.
The plannings are colour coded depending on how large a part of the work day they occupy, so a planning that takes up 100% of the day is shown in red, and a planning that takes up 20% of the day is shown in green.

Toolboxes
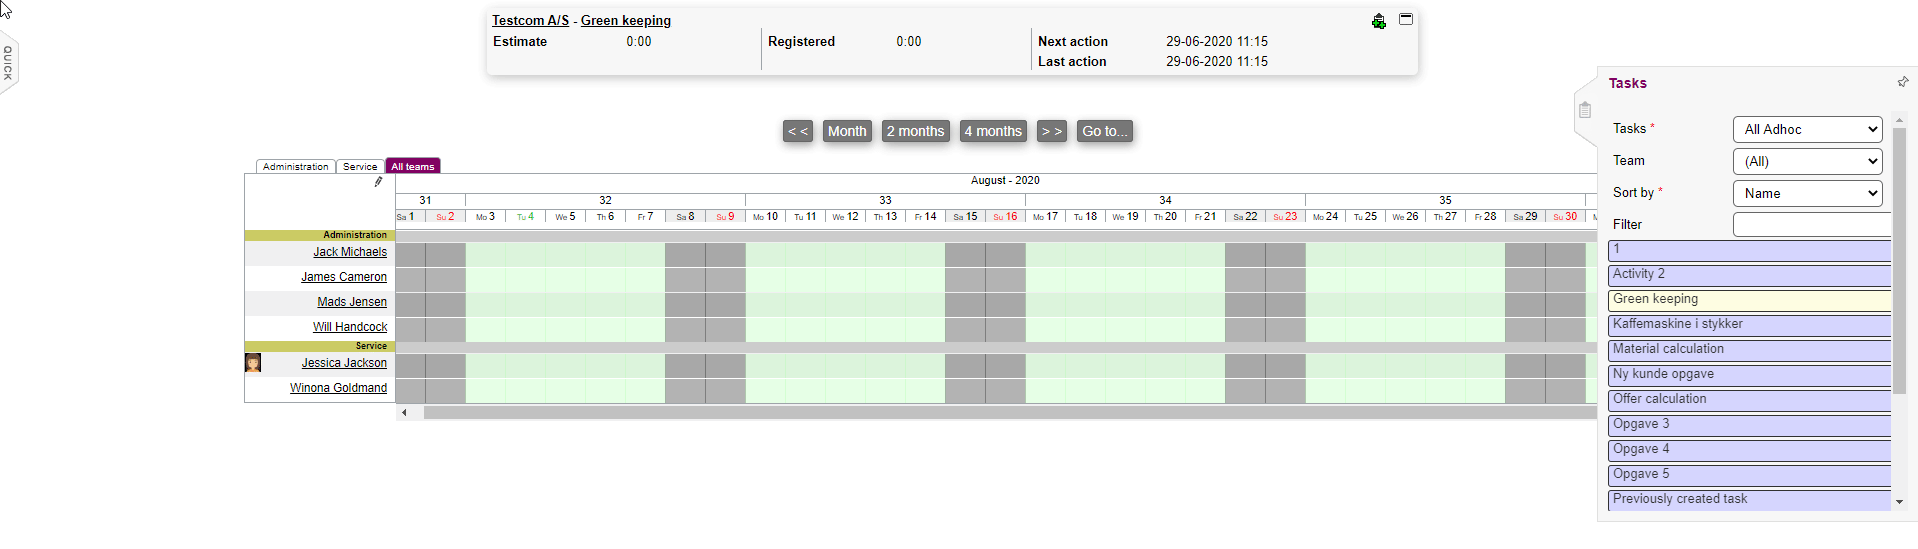
On the right side of the screen you will find two toolboxes:
- One that gives access to an overview of tasks that can be chosen and scheduled
- One that gives access to choosing which users should be shown on the timeline
As seen above, the toolboxes will appear once you move the cursor across one of their icons, and disappear again when you move the cursor away from the boxes. Read on for more on these.
Tasks toolbox
This toolbox (which shows the tasks) can be locked so that it always will be shown - this is done by clicking on the small pin at the top right corner.
You can choose which tasks should be available from the "Tasks"-menu - here you can choose either of these:
- All Adhoc - this will list all adhoc tasks
- Pending planning - this will list all adhoc tasks where "next action" is before "now", and which are not in a pool
- Unplanned on date - this will list tasks that do not have a planning on the start date of the period being displayed, and are not in a pool
- Projects - this will list project-tasks
- A filter that you have defined yourself
- A pool
If a team has been selected then 1. and 2. and 3. may include tasks that you would otherwise not have access to, but which are assigned to the team.
The list of tasks can be further filtered by choosing which team the tasks should be attached to, or using free text search which looks at the task title and company name.
When dragging a task to the timeline, there are boxes that are colour coded which have the following meaning:
- Red means that the task is not suited for today or that the deadline has been crossed
- Blue nuances specify whether the task is wholly, partly, or not planned at all.
You can also drag a task to another date or time. You can also drag the left and right edges of a box to change its duration.
Upon choosing a task, information regarding it takes up one line with the company's name and task. Further information can be retrieved e.g. how many hours are currently registered, by expanding it as such: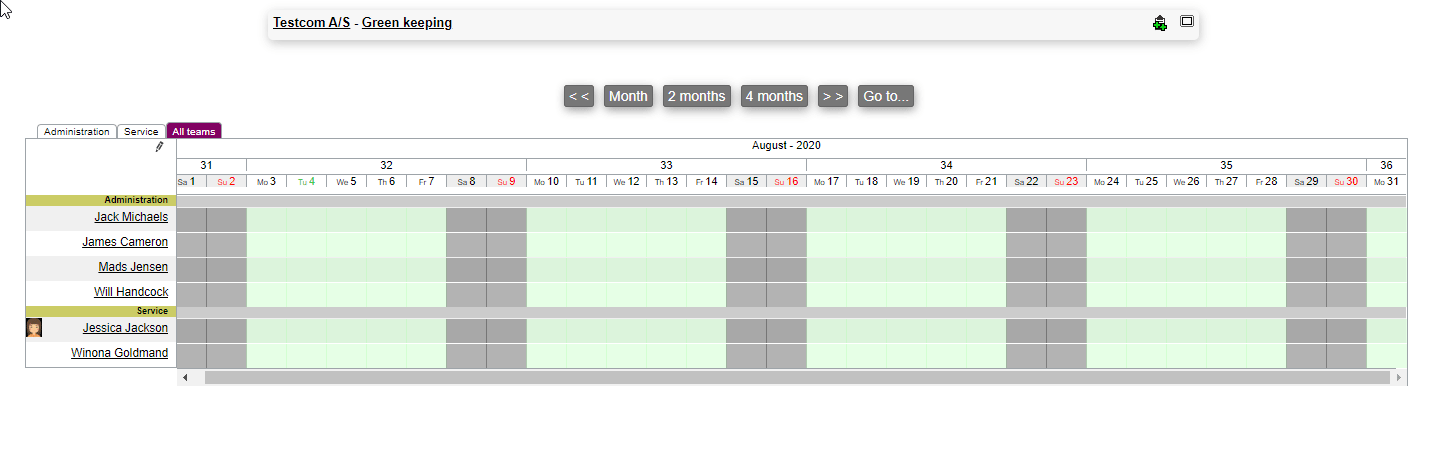
Users toolbox
From this toolbox, you can filter which users should be shown on the timeline. Only users for a specific team is shown - this is chosen through "Team".
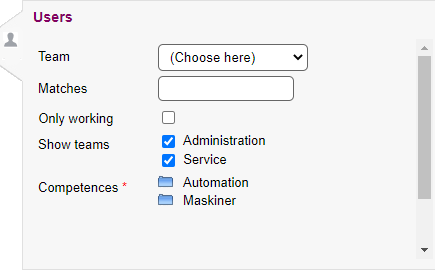
"Only working" specifies that the user who is at work during the course of the chosen period should be taken into account. During holidays, these users will therefore not be shown.
"Competencies" allow you to specify certain competencies that the users need to have, in order to be shown on the timeline.
Editing a planning
You may click on a planning to bring up a menu with the following items:
- Edit production: Here you can edit the planning; you may change the start date, end date and occupancy.
- New production: This will create a new planning for the same task
- Delete production: This will delete the planning
- Delete future prod.: This will delete any future planning of the same task
- Add user: This allows you to duplicate the planning for another user.
- Lock: This will lock the planning so that it cannot be dragged to another day; if already lock the menu item changes to Unlock.
Busyness
If an employee is busy on a given day a coloured bar will appear:

Holding the mouse over this will bring up a box with information about the other plannings and appointments on that day.